Supplies:
- Piece
of paper
- Set of sketch pencils
- Tortillion
- Ruler
- Kneaded eraser
- Circular object, (I used a cup)
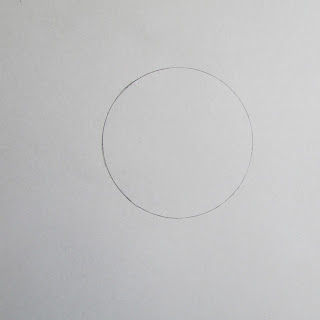
First you start out by tracing your circular object to
create a perfect circle.
Then, taking your ruler, draw two straight lines on either
side of the circle. This is your tabletop.
Next you can draw a little sun in the top right hand corner
of your paper. This is where the light source will be coming from, and it will
be there as a reminder for you. This step is optional, and you don’t really
have to do it.
Taking your pencil (you can use 2B), draw in the cast
shadow around the bottom of the circle. Be sure to make it darker on the
opposite side of your little ‘sun’ as this is where there is the most shadow.
Next, use your Tortillion to blend out the shadows, making
the lines even and smooth.
Now, using your pencil again, draw out a crescent shape on
the left side of your circle. This is the shadow.
Now, blend out your shadow being sure to create a halftone
above your crescent shape. Now your circle should have some depth and look like
a sphere.
Shade your circle some more, but keep the center and part of
the top clear from shading. This is the where the light hits the sphere
directly, so it needs to stay completely white.
Be sure to create some reflected light, you can’t
really see it in my picture (seeing as it’s not very good). Now you have
combined the basic shading technique and the value scale to create a realistic
looking sphere!
Keep practicing this until you can get it right. Trust me,
it helps. Part two of this tutorial will show you how to shade other basic
shapes to make them look three-dimensional. Always be sure to have fun drawing!


No comments:
Post a Comment